We Try Dip Dye
Ever since two-tone hair came back from its hibernation in the 90’s everyone has wanted to get in on the action. Many have stalled, delayed and deliberated for a long […]
Ever since two-tone hair came back from its hibernation in the 90’s everyone has wanted to get in on the action. Many have stalled, delayed and deliberated for a long time about actually doing it, but now is the moment of truth.
Here is how it can be done!
Step 1: BRUSH YOUR HAIR. It is worth it to comb out the huge tangles and refrain from ending up with spotty hair. . If you’re only colouring part of your hair this is also the time to section off the bits you want to stay au naturel.
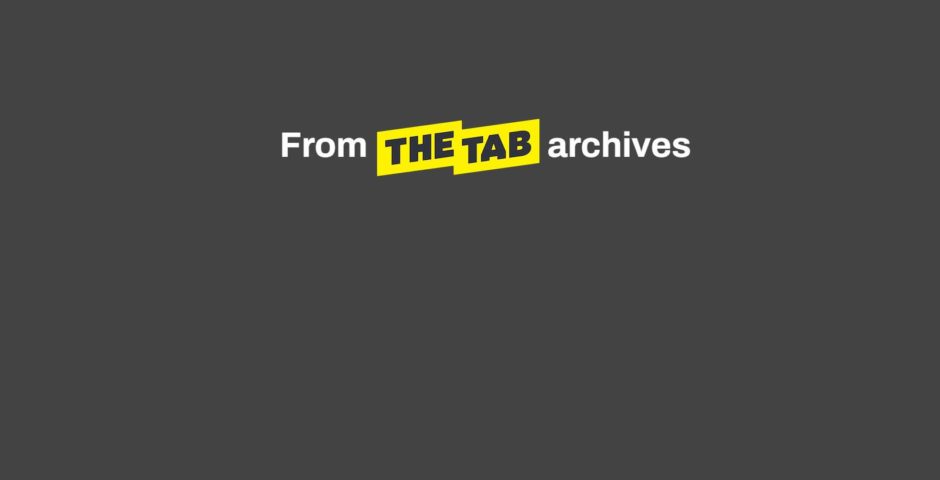
Step 2: Cover up. Whether this is in a t-shirt that you actively hate or in my personal favourite, a bin bag with holes cut into it, you need to put something on to avoid dyeing your shoulders and neck.
Speaking from experience; it looks stupid and takes days to wash off. Gloves are also recommended. Dyeing your hair without them may be easier, but again, red/blue/bleach-scarred hands are not a good look.

Step 3: Make a note of the time. Guessing what time it is can lead to premature rinsing. It might also be worth checking whether your hair-dye mission is going to coincide with the heating coming on, as sitting around in nothing but a bin bag can get a bit nippy.
Step 4 (optional): Get bleachy. (If your hair is already blonde, or the colour you want your ends isn’t very vibrant, you can skip this step and proceed straight to Step 8.)
The actual method for this will vary depending on the packet of bleach you’re using, but in general it’s just ‘mix ingredients together, put on hair’. Try not to miss bits or get bleach in your eyes.
Step 5: Wait! This can be anything from 30-90 minutes depending on how dark your hair is and how blonde you want it. It is particularly important to remember Step 3 at this stage!
Step 6: Rinse and condition. Exactly what it says on the tin. Condition as much as you possibly can, because bleach is very, very bad for your hair.
Bonus points here if you’re using a boxed hair lightener, because the conditioners that come with them usually smell amazing.
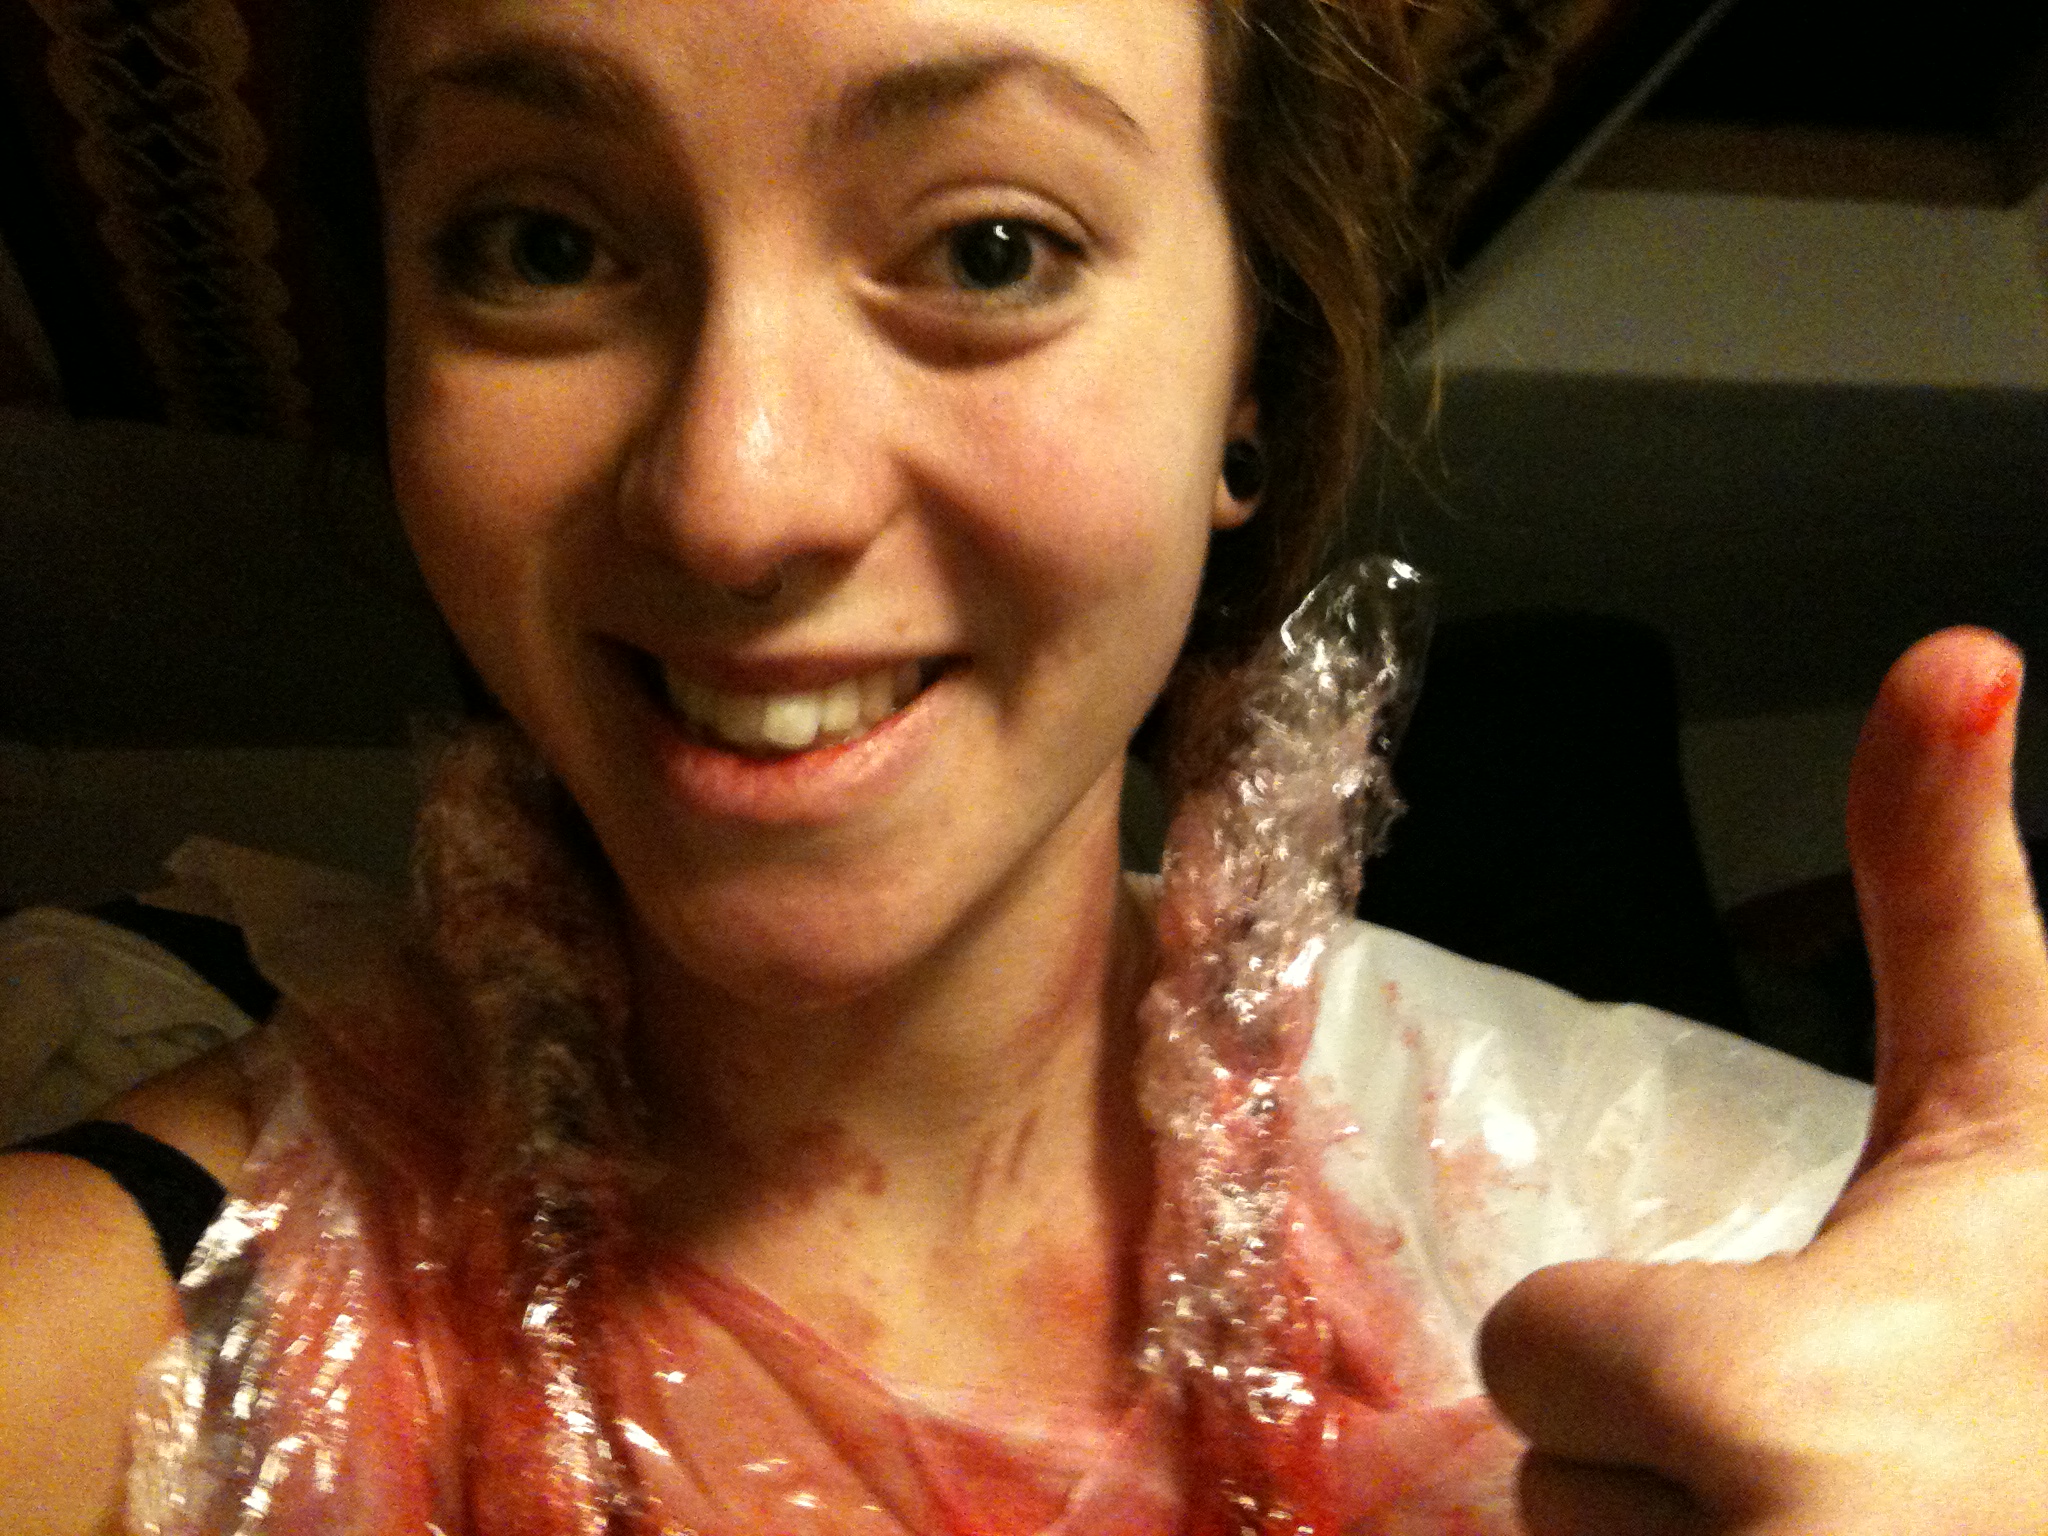
Step 7: Admire results.
Ideally I would wait at least a day between steps 6 and 7. This is to give your hair a well-deserved rest from all the chemical assault, and to give you a chance to condition it some more. Also, if you’ve been lucky and done a decent bleach-job, you might already have achieved a good two-tone look (I believe this is called ombre) and want to show it off.
Step 8: Repeat steps 1-7, but with coloured dye instead of bleach. Once you’ve covered all your hair with dye wrap it in foil or cling film. This (apparently) helps the colour take, as the heat trapped in by the foil speeds up the reaction time. Or something.
Also, it stops you dripping hair-dye all over the place so it means you can actually move around the house and not spend your development time sitting on a towel feeling sorry for yourself.
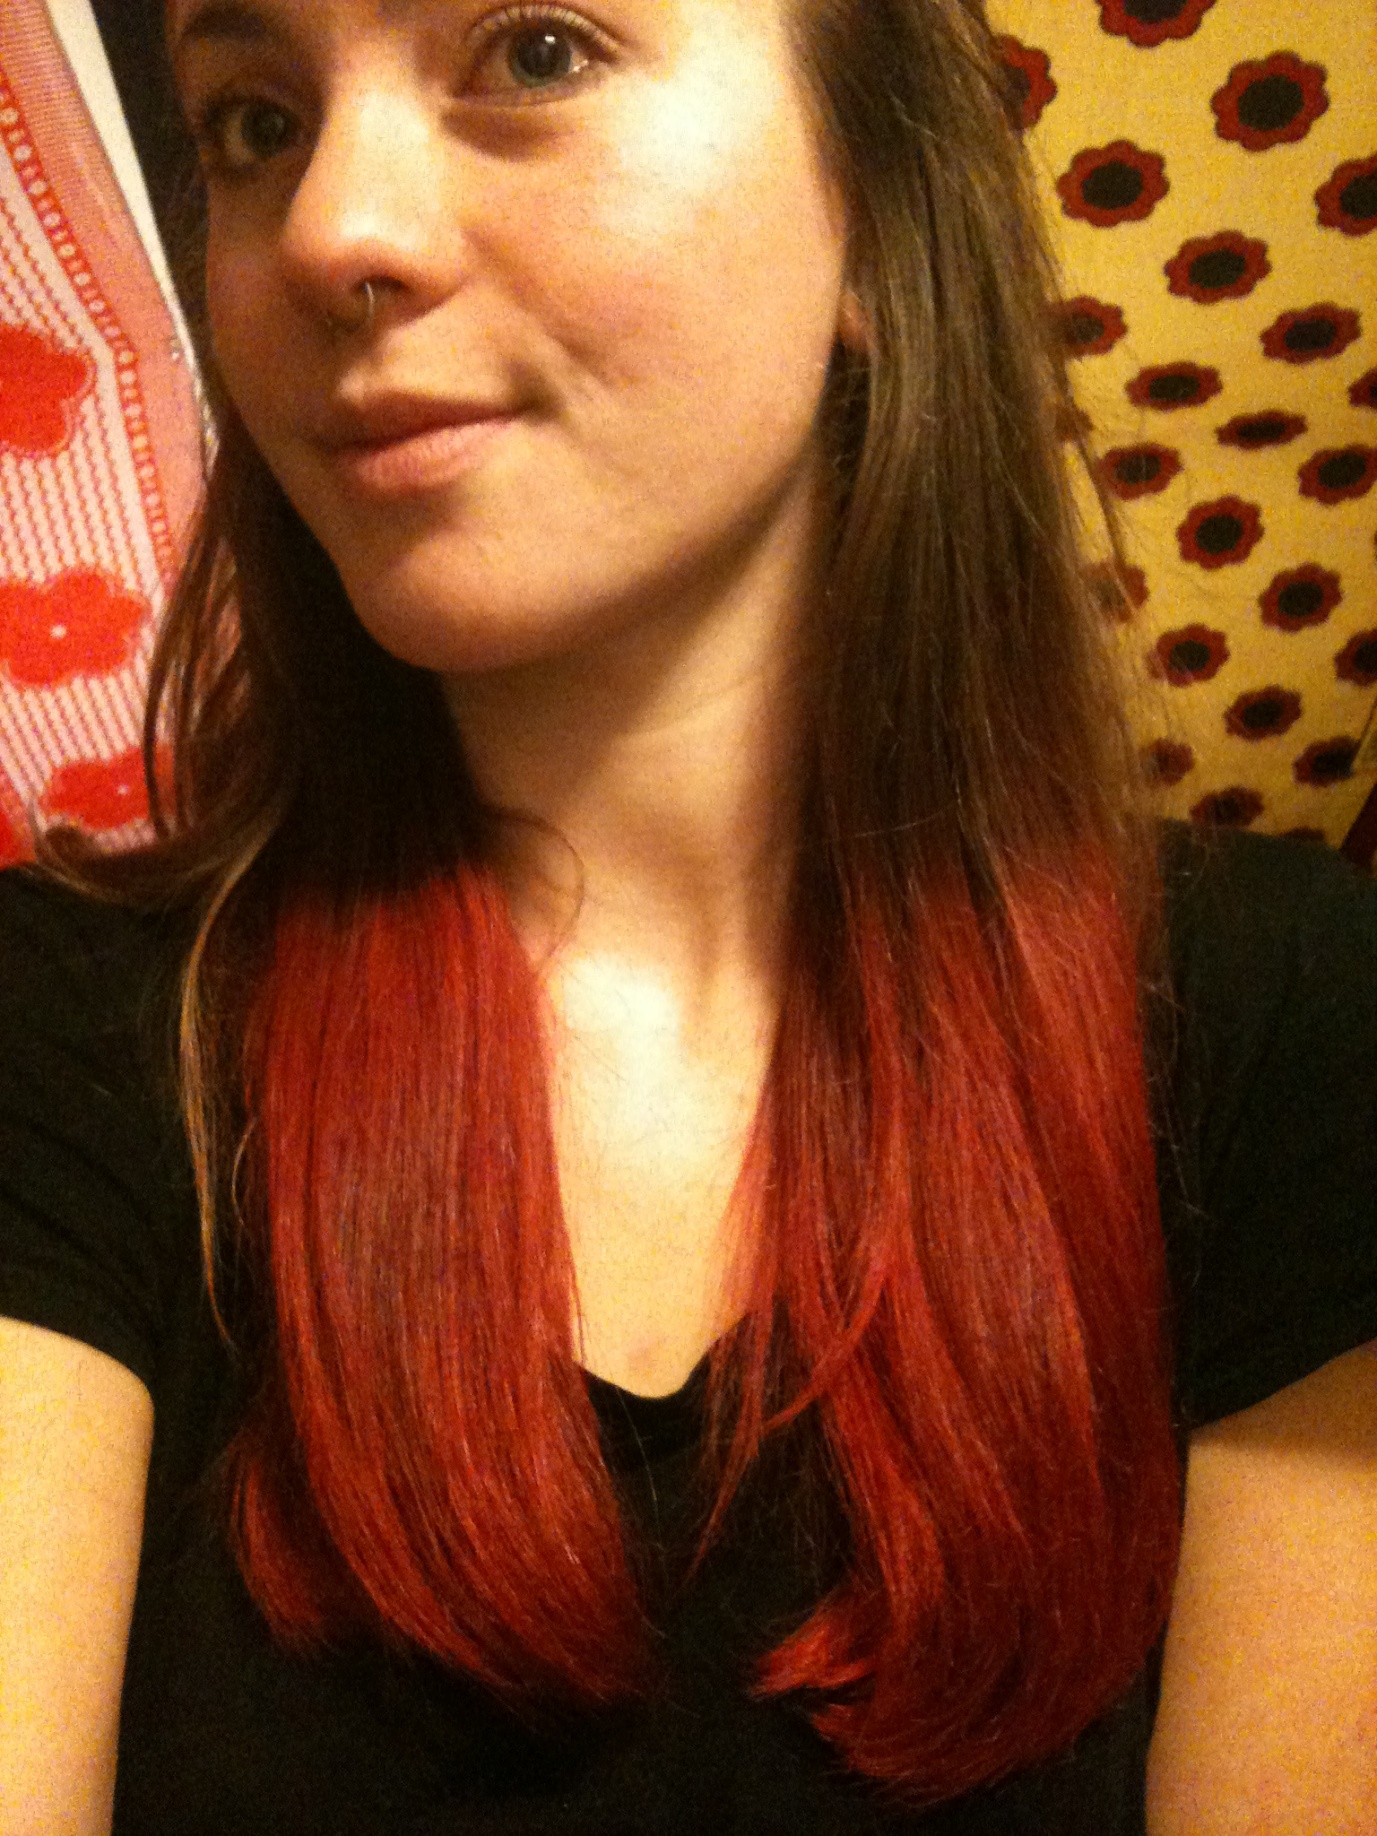
Ta-Daa! Congratulations, you (probably) have a wonderful new look!

Calling all the hot girl runners: Here are the best Strava segments to run in the Toon
When the dating apps aren’t working, it’s time to look confused at a half marathon x

Don’t panic, but applications for The Newcastle Tab’s editorial team are now OPEN
We’re recruiting for Editor in Chief, News Editor, Features Editor, Social Media Editor and TikTok Editor

‘Two girls got the clap’: These were the worst confessions from the Newcastle Uni ski trip
What can go wrong in Les Deux Alpes?

Police release CCTV image after woman was sexually assaulted near Newcastle University
Northumbria Police believe this man may have witnessed the incident and could have valuable information

Stop the press! Nominations for Newcastle’s BNOC of the year 2024 are open
The ultimate accomplishment to add to your LinkedIn

‘Did you actually attend the lectures’: Ranking Newcastle Uni lecturers’ brutal comments
The Russell Group is beginning to rustle my feathers x

Northumbria University hosting first ever fashion show in support for Young Minds Charity
The student-led event is taking place at Northumbria SU on the 22nd April

Newcastle Uni sports teams give advice to students wanting to start a sport next year
‘Be prepared to get drowned, whacked in the face and kneed in the crotch’

Northumbria student caught hiding class A drugs with intent to supply avoids prison time
28-year-old Arjun Tandon transformed his life after his arrest which had brought ‘shame’ on his family

Newcastle University student takes home £5,000 prize from ITV gameshow The 1% Club
22-year-old Maisie McClure didn’t use her ‘pass’ card until the 13th question

Everything I’ve learnt as a northern student whilst studying at Newcastle University
We’re like a rare species

Newcastle Fashion Show to be held in summer for both Newcastle and Northumbria students
The event will give all students the opportunity to model

Greggs to sponsor Newcastle graduations and students get a sausage roll with certificate
Students will be handed the sausage roll along with their certificates on the graduation stage

Here are the seven best ways to prepare for spring in the Toon as a Newcastle student
Spring has nearly sprung!

Tropiloco event by Loosedays set to expand outside of Newcastle due to growing popularity
The event has sold out almost every week since starting in July 2023

Newcastle students vote towards fully plant-based catering on campus with 89 per cent majority
The motion will see an eventual transition to 100 per cent plant-based catering

I survived my first St Paddy’s Day in the Toon and this is how it went
Any excuse to drink am I right x


Time to paint the Toon green: All the St Paddy’s day events happening this weekend
Ignore that dissertation deadline and get a baby Guinness down you

How to make the most out of your final semester at Newcastle University
There is more to life than your diss and the Philly Rob

These eight awful MAFS Australia editing errors prove this season was the most staged EVER
I can’t believe these all went by unnoticed?!


Guys, Hinge has added a ‘hidden words’ feature that lets you block people from your likes
Long walks and Sunday roasts be GONE

A deleted scene from Baby Reindeer showed how things really ended between Donny and Teri
Five months after the events of Baby Reindeer took place, the real Teri left Richard a voice mail

Raving to radio: Everything Richard Gadd did after the real life events of Baby Reindeer
He even had time to go travelling

‘She inspired me’: Everything Nava Mau has said about playing Teri in Baby Reindeer
‘When I read the script, I could tell that Richard really loved her’

Jess has accused Callum of cheating on her with fellow Love Island star before their split
This breakup just gets messier and messier

What have Sara and Tim been up to since leaving the drama of MAFS Australia 2024 behind?
Tim seems to have dropped off the face of the earth

Student jailed for stabbing his housemate to death after a fight over his music taste
Syed Hussain-Kazi called his housemate a homophobic slur before stabbing him with a kitchen knife

Jack reveals MAFS Australia producers forced him to change his vows ‘six or seven times’
As it didn’t fit ‘the theme’ they wanted for their storyline

Omg, Jayden tried to sell the bracelet he got Eden on MAFS Australia for extra cash
And asked if Eden wanted to split the profit

If you can’t wait for season four of The Umbrella Academy, here’s what else the cast is in
I need my daily dose of Klaus

Kaching! The Russell Group uni subjects you need to study if you want to be a millionaire
Awkward time to be an English student x

17 years since it first aired, this is who from the Skins cast is actually still friends
I wish I was invited to their lunch reunions

A side by side comparison of Black to Black’s cast and the real people they played
They got the beehive spot on

Baby Reindeer: A psychologist has explained why Martha always used ‘Sent from my iPhone’
Despite not even owning an iPhone

A look at Richard Gadd’s intense transformation in order to appear ‘neurotic’ on Baby Reindeer
He drastically changed his appearance for the series

There was another chaotic editing error on MAFS Australia 2024 last night and it’s CARNAGE
How did the producers miss this?!

The five fashion trends all the cool girlies are wearing to festivals in 2024, according to Pinterest
The lewk bewk isn’t ready for this

Matty Healy has addressed Taylor Swift’s ‘diss track’ and is characteristically unbothered
‘I haven’t really listened’

Everything Lauren has been up to since leaving MAFS Australia 2024 like an absolute queen
She’s an icon, a legend and she is the moment